BurpSuite Primer for Pentesters (Beginner’s Edition) – Part 1
I am starting burpsuite primer for pentesters blog series to explain the detailed concepts of burpsuite and its usage in the engagements. The series will contain multiple blogs to explain th each and every feature of burpsuite with appropriate use cases.
First of all, if anyone wish to start web application security and penetration testing, there are many famous tools available in the industry. But for web application security testing specifically, BurpSuite plays a key role in automated and manual assessments.
Burp Suite has two versions:
- Free version (community edition): This edition is pre-installed on pentesting machines like Kali, Arch, Parrot OS, etc. This is the free edition, so some features are not available in this one, like the Burp scanner, task scheduler, Target Analyzer, etc. but overall, it has all the features that are required in a regular assessment.
- Pro version (Paid): It includes almost all the features of the Burp Suite. Some features of the Professional One are that they work with Web Sockets, assess token strength, scan options, break HTTPS, etc. You can download the pro version here.
Burp allows a user to list out each domain and helps us to modify the interaction between the user and the website. It can also be used for analysis and detailed enumeration.
We are going to discuss how to set up our first project.
To open Burp, first search for burp in the Kali search bar.
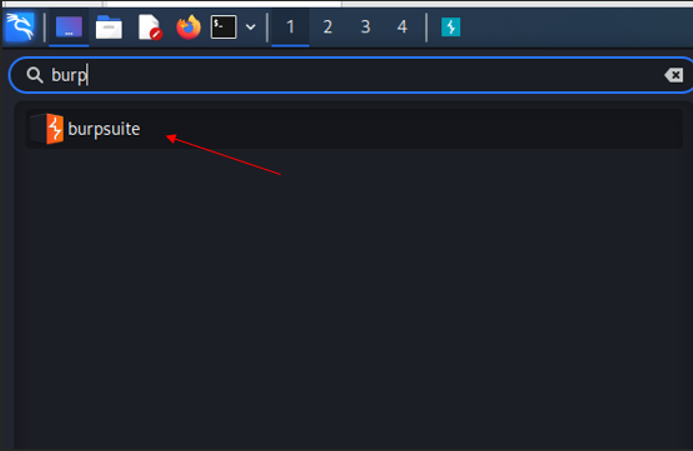
Now we are going to first set up a temporary project. The new disk-based projects are part of the Professional version.
- Temporary project: Useful for quick tasks where saving your work is not necessary. All information is stored in memory and is deleted when Burp is closed. Burp Suite Community Edition only offers this choice.
- New project on disk: creates a new project that stores its data in a Burp project file. All the project’s information and configuration are contained in this file. As you work, this data is incrementally saved. Keep in mind that you can later rename a project using the Burp menu.
- Existing project: This option allows you to access an already-opened Burp project file. Any active automatic tasks will initially be suspended when you open an existing project by default. This is done to prevent unintentionally sending requests to targets that have already been configured. Under the Misc tab of Burp Suite’s user preferences, you can modify the default behavior.

Here is the basic configuration, so we can load them, or we can use burp defaults.

Dashboard

This is the dashboard of Burp Suite, which has a lot of features that can be useful for debugging the project.
- Here we can launch a scan of a website by just clicking on a new scan, but remember this is a free version, not a professional one, so the scan option is disabled. Later in this document, we are going to discuss the scanning part.
- We can monitor the progress of the tasks that are running and can see more information and keep track of burps activity.
- We can reorder the tasks using the search bar.
Event Log
Event logs only show the event occurring in the burp suite when we run any, if there is any error or issue then we will definitely look here first, and here we can also see the service type which could be proxy or suite or any other.
Scans
The scans are not available in the community edition, but in the professional edition, they have included it. Scanning is one of the most important parts of web app sec assessment. It scans the website to find the vulnerabilities and shows us each finding with its complexity of exploitation. It is one of the most powerful scanners, but it is not 100% accurate and may show a lot of false positive results. It supports three types of scans, and we will discuss them in detail.
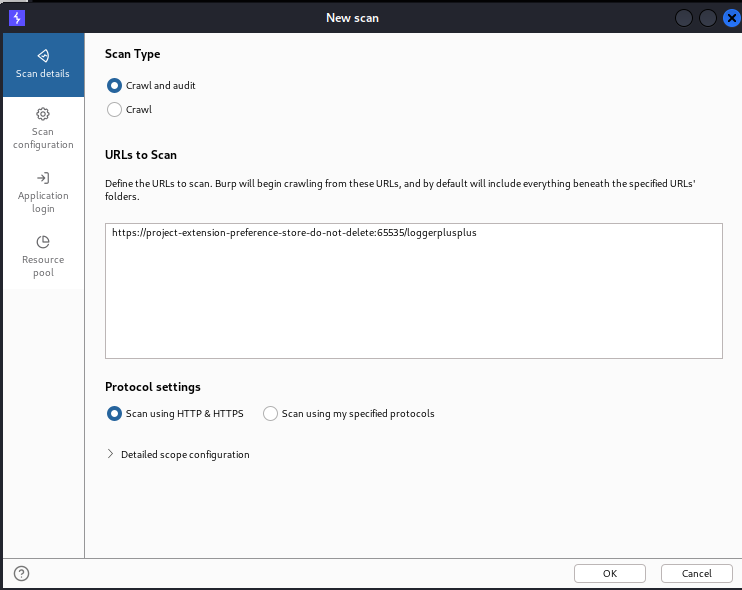

Crawl:
It is basically used to crawl the site map (a site map is basically a file where we provide info about the videos, web pages, and links). So crawling is basically used to scan the embedded and deep URLs and other links by itself. If there is any link or URL, then it will surf there and repeat the action. Also, it can start from one or more starting point links, and remember that this will not audit them either. In the Scan configuration, you can also find the depth of the crawling.
Crawl and audit:
It helps us to crawl the items, and this will present a result, so we can perform actions like static and dynamic code analysis.
Audit selected items:
This option is only visible when we select as many URLs as we want from the sitemap and after right-clicking on them.


In the above image, we can also define whether we want to test scan for HTTPS or HTTP or scan using the protocol we want to define.
Scan Configurations:
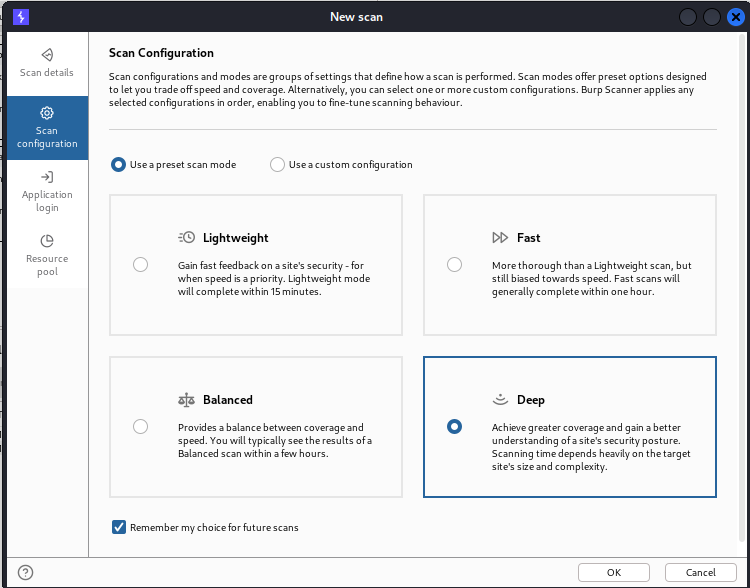
To increase the efficiency of the scan, the burp suite has multiple sets of options that are used to define how the scan is to be performed. We can also specify how deep we want to crawl to go, so we can specify the maximum link depth as well as the issues to be reported. Also, we can set rules for our scan and several rules can be combined. This can be done by adding some built-in rules. It is not limited here; we can also create our own rules, and we have the option of crawling or auditing.
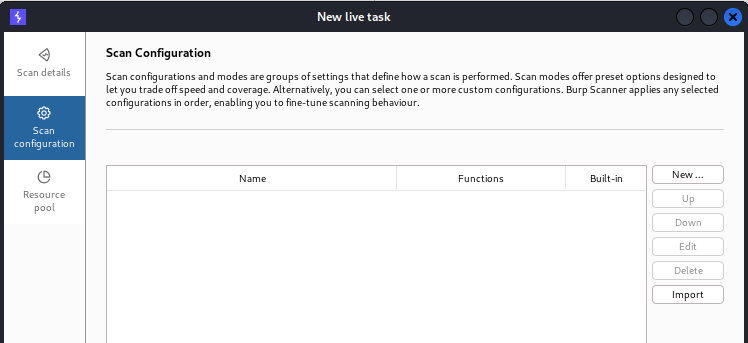
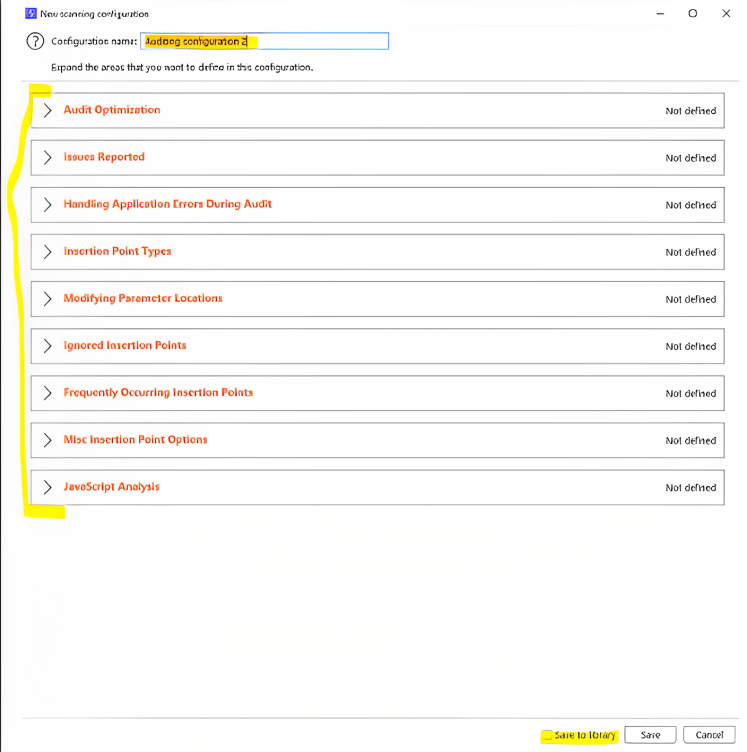
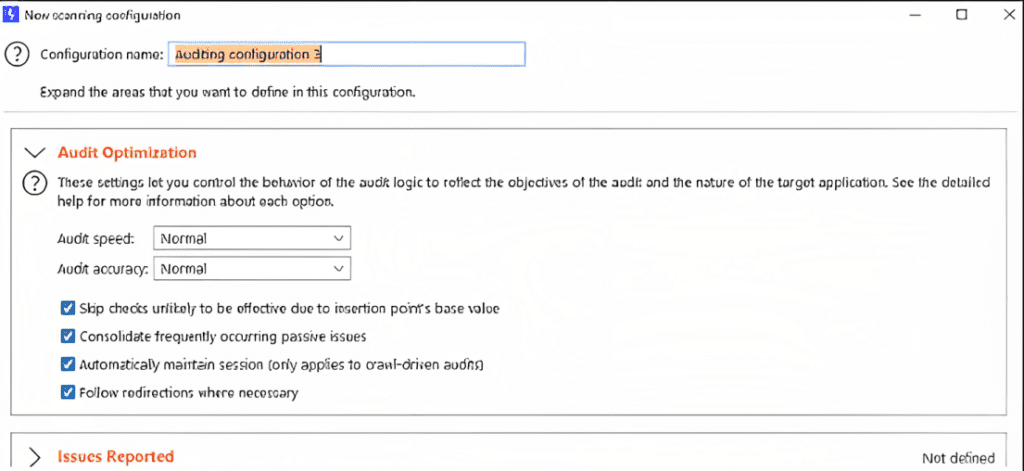
Also, it is necessary to name the rules properly so that we can use them in the future if we want them and when we want to set a rule we just have to click on that specific rule like “Audit optimization” and then click to the respective section and the rule will be enabled itself.
Application Login:
In grey box assessments, pentesters normally get access to the credentials of some level. On a site, we were asked to provide an application login or credentials. This occurs whenever burp encounters any form so that only authenticated users can access it. If we have credentials, then we can enter them here, and we can allow for authenticated crawling; if not, then we can add recorded login sequences.
Resource Pool:
It basically allows us to create variables that can assign a certain value of maximum concurrent requests and allow a delay between those requests and other options. We can then use those resource pools for other purposes.
Live task:
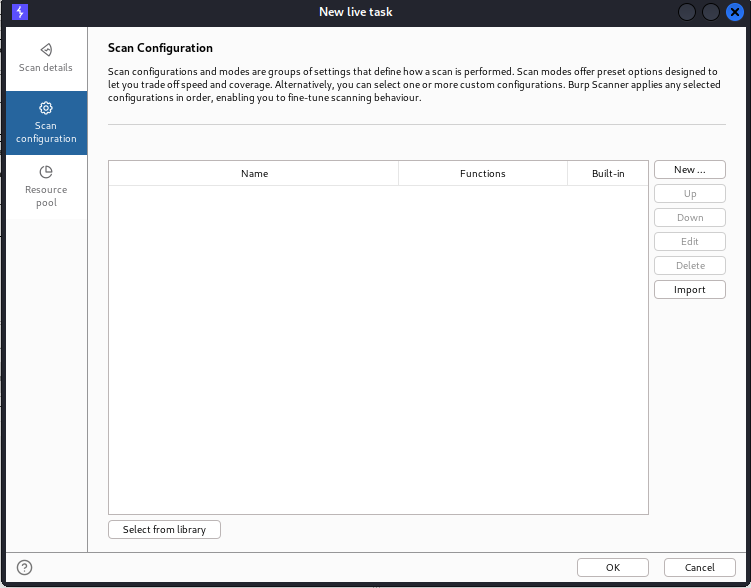
It can basically perform live scanning, which is similar to auditing actions such as crawling and auditing in the scan. It can mostly be used to perform scanning operations automatically on requests being processed by the burps tool. We can create new live tasks manually, and they are most often used to take traffic from a tool.


Issue activity+ Advisory:
When we create a scan then burp also finds some vulnerabilities and these vulnerabilities are displayed here. In Fact, this is the place where burp explains all issues and when we click on an issue it will display all info.
The best thing u need to see is that we can also filter the vulnerability types, and also, we can give them colors or highlight them to show their vulnerability level. It is very useful when we perform bug bounties.

Thanks For Visiting, this is our first blog on burpsuite primer for pentesters series.
In the coming blogs we will explore other insights of the Burp Suite.



1 Response
[…] BurpSuite Primer for Pentesters (Beginner’s Edition) – Part 1 […]